> For the complete documentation index, see [llms.txt](https://help.qonic.com/llms.txt). Markdown versions of documentation pages are available by appending `.md` to page URLs; this page is available as [Markdown](https://help.qonic.com/documentation/qonic-application/data-and-collaboration/browse-panel.md).
# Browse Panel
Use this panel to browse your model. Group and filter on location, IFC Class, IFC Properties and other attributes.
Open the Browse panel by clicking the tree view button on the left of your screen or by using the Shift B shortcut.
In this panel this you will find an overview of objects in the currently opened models, grouped and filtered according to your specifications. You can use the Search bar (1) at the top to quickly filter on a value or keyword. Below it, the currently active configuration (2) is displayed; it can be edited, saved and shared with other members of the project. Finally, the tree view (3) of the current configuration is shown. Use the button on the right (4) to quickly expand and collapse the entire tree.
The default configuration structures the tree by Model, Location and Class, but it is possible to reconfigure this tree completely based on any data within the model(s). Click the *Preset* drop-down and click the pencil icon next to a preset to edit it (presets you can't edit show an eye icon instead), or click *Create new* at the bottom of the list to start a new configuration from scratch. A configuration should consist of at least one grouping rule, and optionally one or more filtering rules.
## Grouping
Grouping is the backbone of the browse panel, and defines what the tree will look like. You will need at least one grouping rule for the browse panel to show a result. By default the following grouping rules will be active:
1. by Model (if multiple models are opened),
2. then by Location (Site > Building > Floor > Space),
3. then by IFC class.
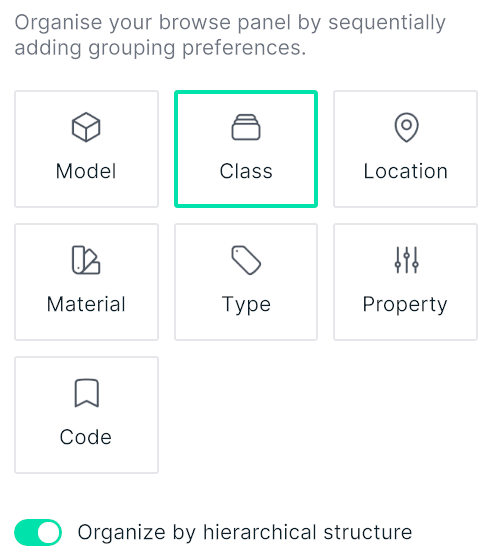
These grouping rules are customizable. You can remove groups by clicking the cross in the grouping tile, you can reorder the groups by dragging the tiles around, and you can add groups by clicking the + icon at the top of the grouping header. When adding a grouping rule you can choose from any property or attribute such as location, material and type.
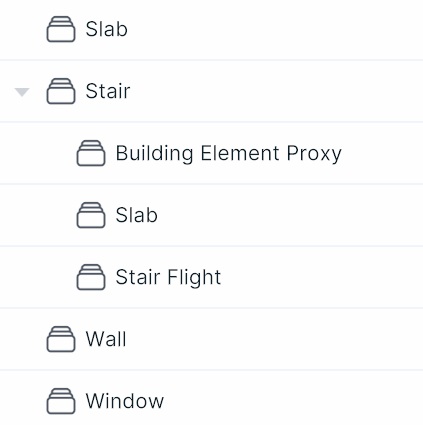
When grouping by Class, an additional option is available to organize products by internal assembly structure. This will, where applicable, show the hierarchical structure of assemblies.
Disabling this option will not show the hierarchical structure of assemblies in the tree, and will basically show a flat list of IFC Classes in this group. **Note:** you can also enable/disable this toggle by clicking the *Hierarchical* / *Not hierarchical* button within the grouping tile.
When grouping by classification code, click the *By Library* / *By code* button in the grouping tile to group the codes under their library or to list them directly.
## Filtering
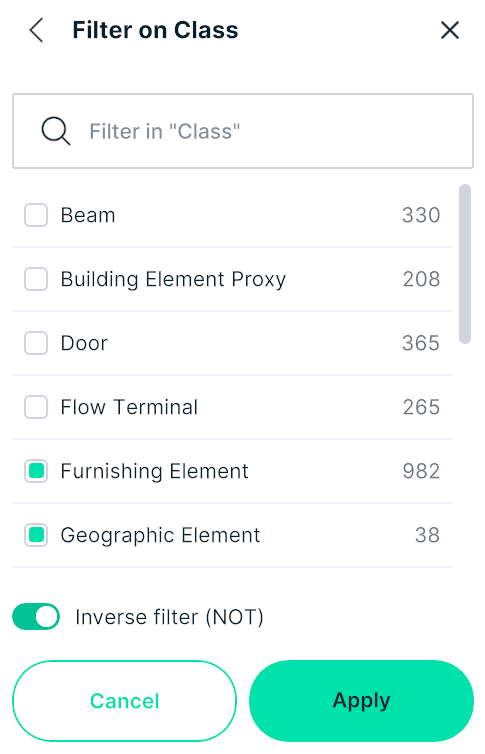
Optionally you can define additional filters in the structure. Add a filter with the + icon in the *Filter on* header. You can filter on specific property values, locations, materials or other attributes. A filter can be inverted by enabling *Invert filter* when you choose its values; the filter then shows a NOT tag. In the image below, furnishing elements and geographic elements will **not** be shown in the browse panel.
When you filter on a property, use the *Show properties of* drop-down to choose whose properties you filter on: the product itself (*Product*, the default) or its location, material or type.
If you want to filter on products that have a property or attribute value containing a specific word or value, you can use the 'contains' filter. Start by typing the value you want, and the option should appear to filter on this specific value. In the image below we typed in 'concrete', and instead of manually checking the individual boxes of materials containing the word 'concrete', we can simply check the '**contains** concrete' option.
For a numeric property, click *Show range* to filter on a range of values instead: drag the handles of the *Range* slider, which shows how many products remain. Click *Show all values* to go back to the list of values.
You can filter on products that have a property or attribute value following a certain pattern, using the special characters **\*** (asterisk) and **?** (question mark).
The asterisk denotes a blank string of an unspecified number of characters. In the image below, the pattern **600x\*TAPERED** means that it will accept products with an ObjectType starting with a string made up of:
"600x" + any combination of characters + "TAPERED"
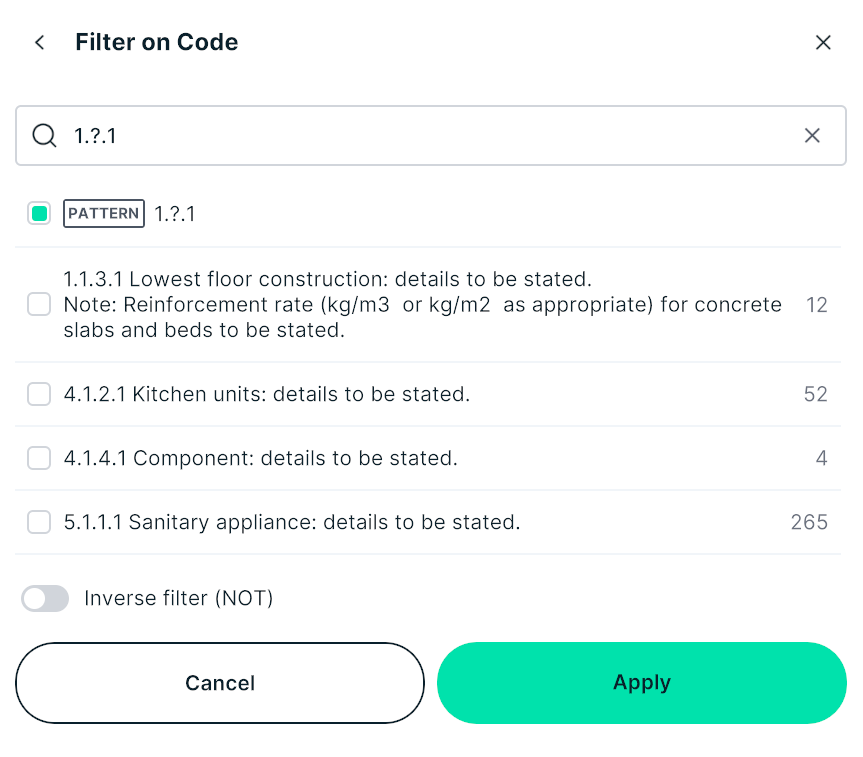
The question mark denotes a single blank character. In the image below, the pattern **1.?.1** means that it will accept products with Code starting with a string made up of:
"1." + any one single character + ".1"
Patterns are matched from the beginning of the value, and any characters may follow the pattern. To match text anywhere in the value, start the pattern with **\***, for example **\*TAPERED**.
{% hint style="warning" %}
Typing an asterisk or a question mark in the value search of a filter adds a pattern option. Patterns are case sensitive. The search bar at the top of the Browse panel does not support patterns.
{% endhint %}
It is also possible to filter out products that do not have a value for any of the grouping rules by disabling the *'show items with no value'* toggle.
When you compare model versions, the configuration also offers a *Show only items with modifications* toggle.
{% hint style="danger" %}
These filters only determine what is shown *in the browse panel*. Applying a filter will **not** automatically filter the 3D view of the model. If you do want to set a view based on the selected filters, you can select all geometry displayed in the tree and set that selection in Scope.
{% endhint %}
## Saving configurations
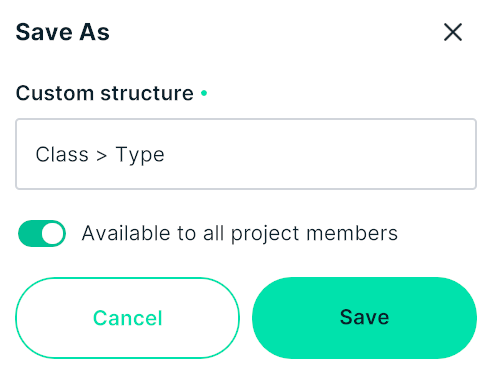
When you have finished configuring the tree using grouping and filtering rules, click *Apply* (for the *Default* preset) or *Save* (for your own presets). To keep your changes as a separate preset, click the arrow next to *Save* and choose *Save as new preset*. When you create a new preset, give it a name and click *Create*. This will enable you to re-use existing configurations across models in your project.
Project owners can also make a saved configuration available to all project members with the *Available to all project members* toggle. Shared configurations can only be edited or deleted by a project owner; other members see them with an eye icon and can use them but not change them.
To delete a preset, edit it and click *Delete Preset*. Qonic asks you to confirm first. Deleting a shared configuration removes it for all project members.
## Structure Tree
Once you have set up your groups and optional filters, the products **currently in scope** will be displayed in the structure tree using this configuration. In the example below, only loadbearing beams and columns are shown. They are first grouped by material, and within each material they are further subdivided by floor.
The tree can be used to select products in your model. You can click any node in the tree and the corresponding products will be selected. Use Ctrl + left click to select multiple nodes individually, or use Shift + left click to select multiple consecutive nodes at once. Double-click a node to select its products and zoom to them.
## Empty property values
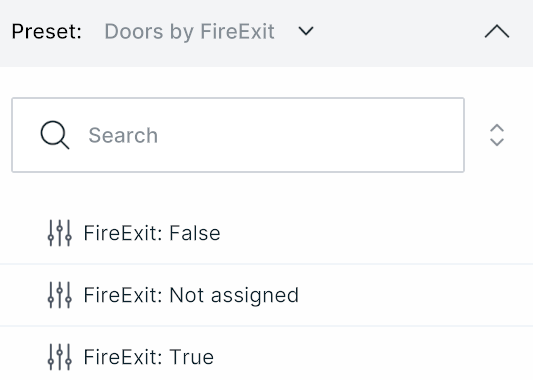
Sometimes you will encounter nodes in the structure tree that say *Not assigned*. This shows all the products that don't have a value assigned to the property corresponding with the current group. In the image below, all doors are listed and grouped in 3 categories: FireExit = False, FireExit = True and FireExit = *Not assigned*. This can be used to easily search for products that have missing properties. This missing information can then easily be added in the [Inspect Panel](https://help.qonic.com/documentation/qonic-application/data-and-collaboration/inspect-panel.md).
It is possible to ignore the items that don't have values assigned to them in the tree, by toggling off the '*Show items with no value'* toggle in the configuration menu.